Friday, August 31, 2012

Caramel Sandwich Cookies


It has been a frustrating couple of days with blogger but the issue is resolved and I can now upload pictures to my blog again and get my posts out!  YAY!!!  Now I can share the recipe I have been promising all week.....

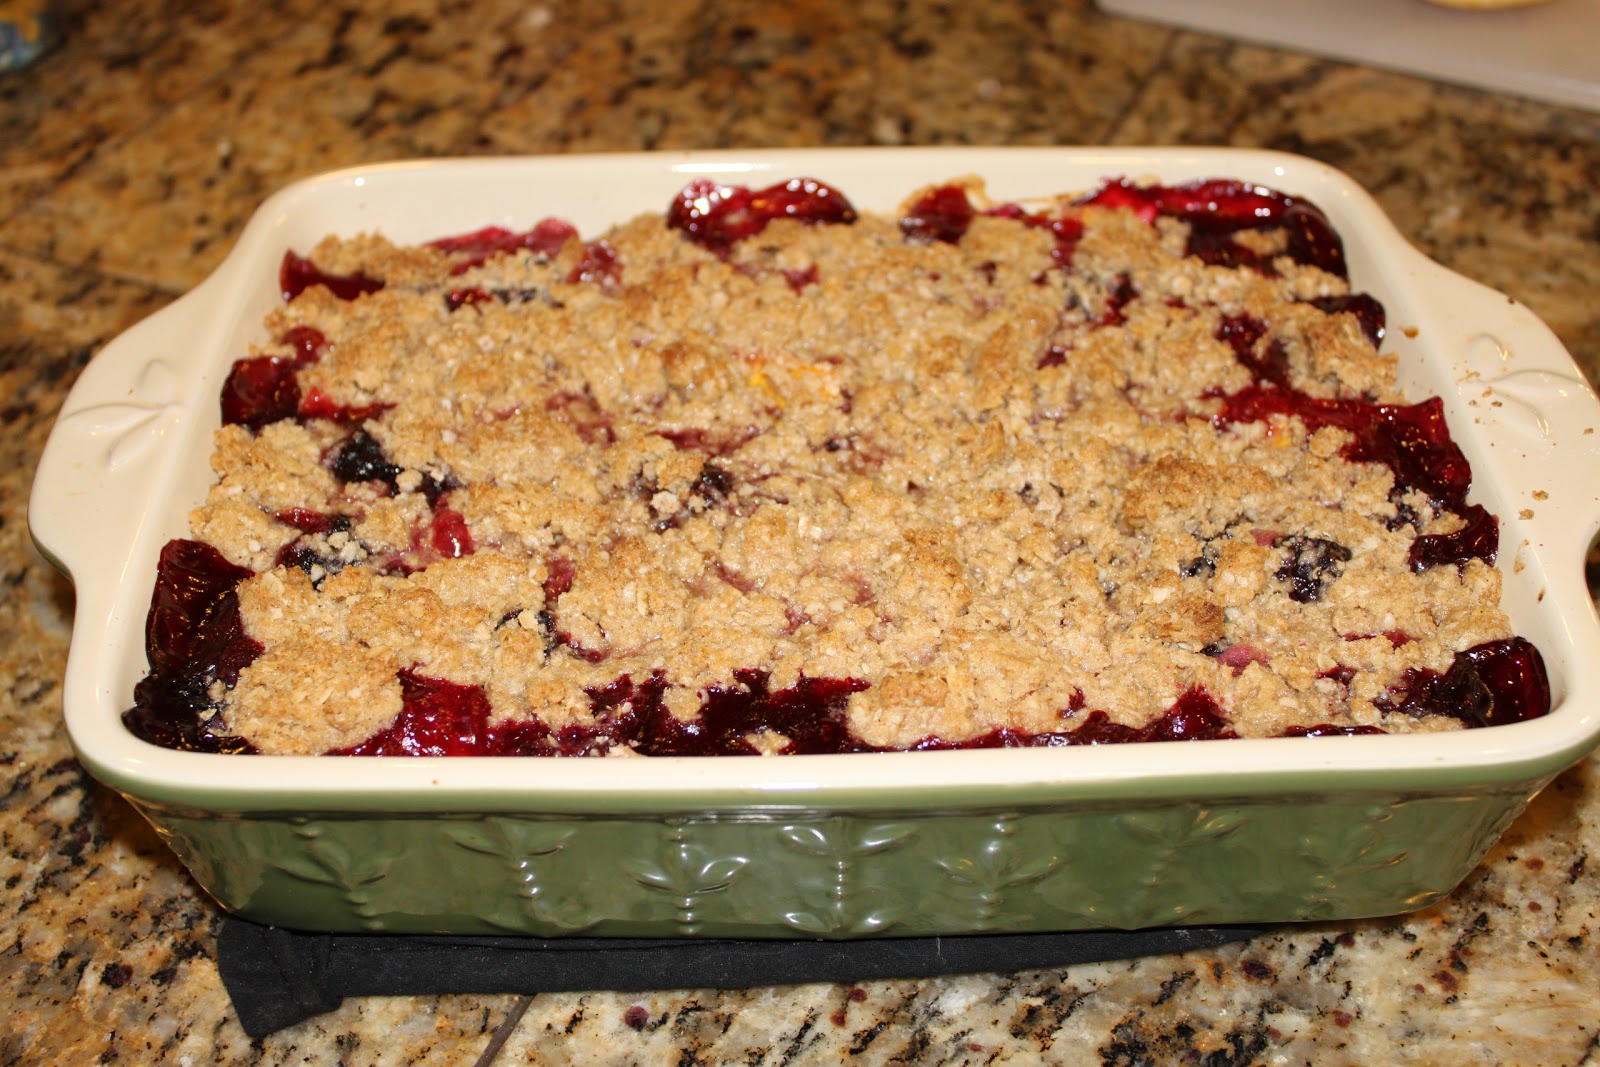
Caramel Sandwich Cookies!  I had a bit of homemade caramel leftover from my Birthday Cupcakes, you know the one..."Vanilla Bean Cupcakes with Caramel Filling and Caramel Swiss Meringue Buttercream".  I'm sure you are all surprised to hear there was any caramel left over, I know that I am shocked.  Anywhoooo, I can't stand wasting food so I had to come up with a new recipe to use it up.  I was temped to just make more cupcakes but the boys were begging me for cookies and the boys are pretty persuasive when it comes to my baking. 

  
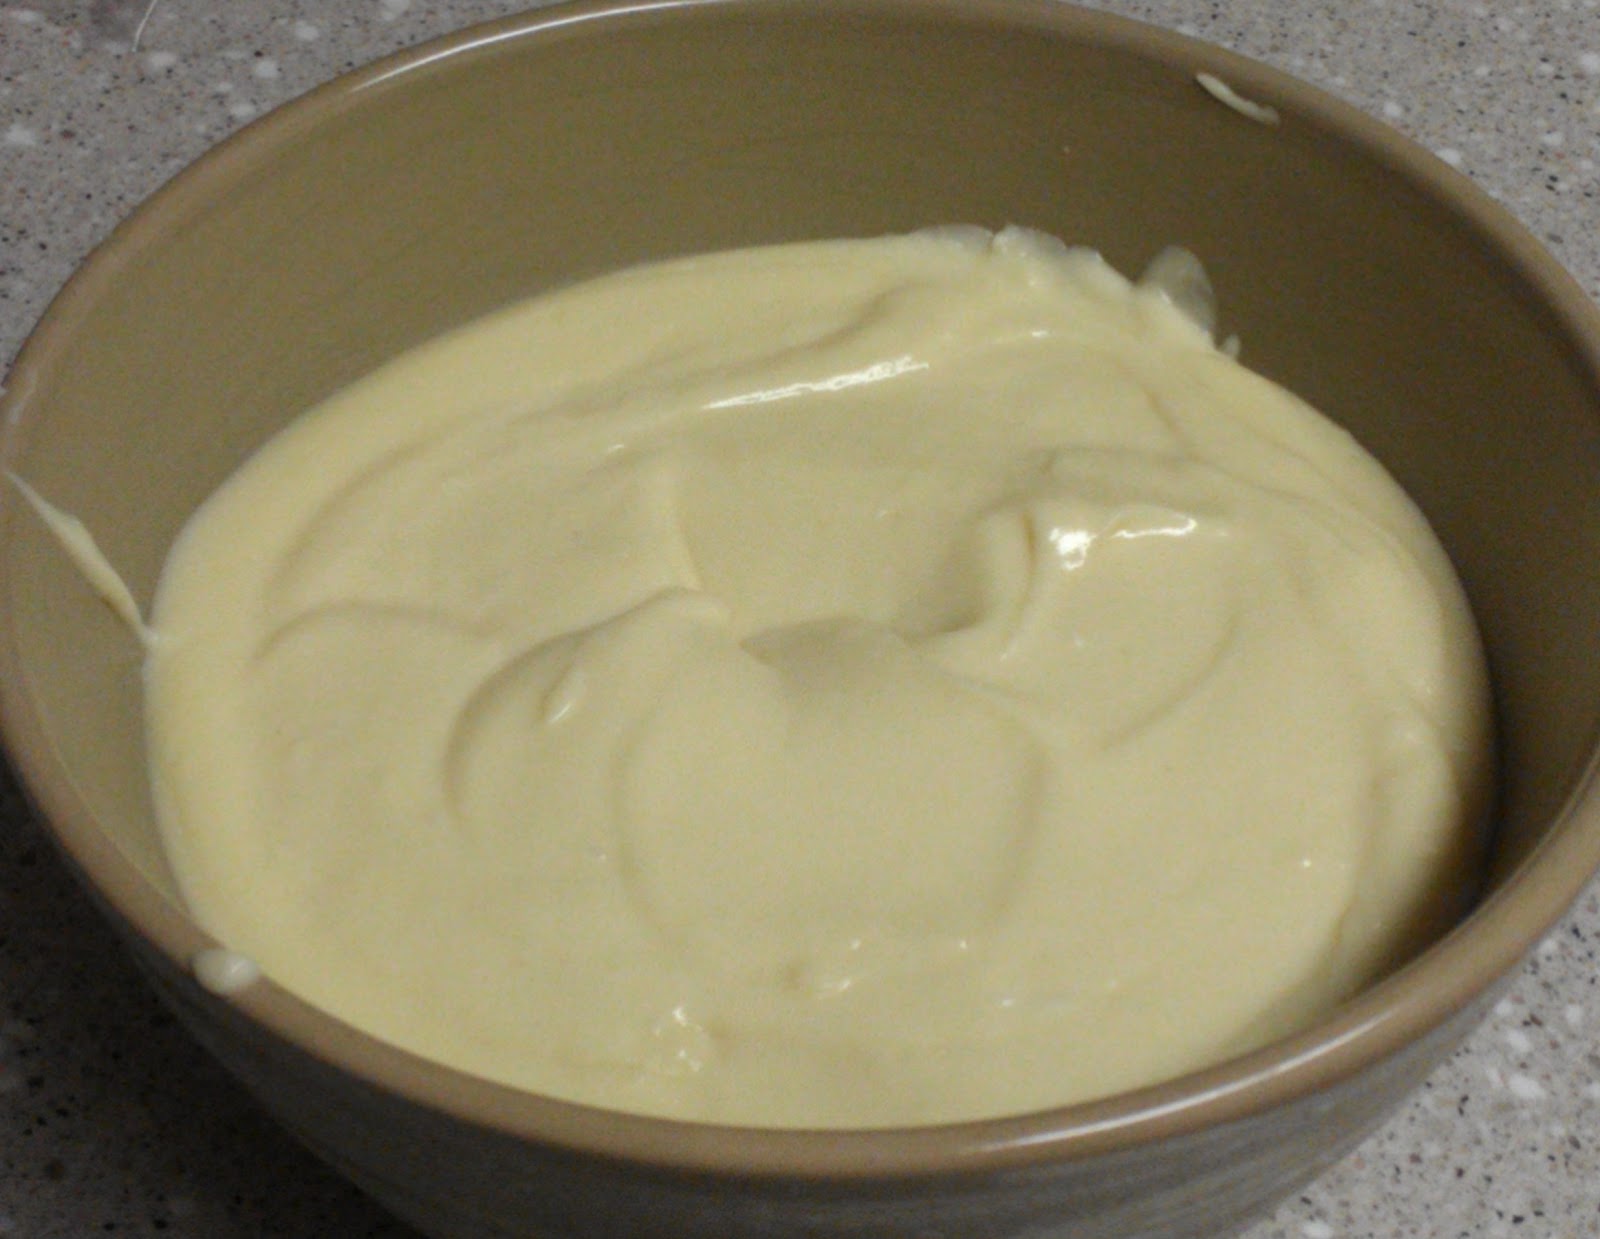
Years ago, Gourmet magazine had a recipe for Butter Cookies with Dulce de Leche and thankfully the wonderful Epicurious.com had the recipe on their site.  I didn't use canned dulce de leche but instead used the leftover caramel from my cupcakes.  My recipe keeps well in the refrigerator, just pull it out and bring it to room temperature and it spreads easily.  You could also heat it up over a double boiler or in the microwave if you want to make it pourable.  If you make your own caramel recipe or buy storebought caramel, make sure that it the super thick, so that it doesn't all squish out of the cookie sandwiches!

Used my new silpat!
The butter cookie recipe was easy, delicious and not too sweet.  The addition of the cornstarch made for a flaky and tender shortbread.  My favorite aspect of the recipe was that the dough did not need to be chilled before rolling and cutting.  This was a huge time saver for me!  


Bake just until the cookies firm up and the edges begin to turn golden.  They do not bake for long.


After they cool, fill with that delicious caramel and dust with powdered sugar just to make them look even prettier!

The only thing I changed for the cookie recipe was to substitute vanilla paste for the vanilla extract and add Malibu rum instead of brandy.  We all know that I absolutely LOVE the look of vanilla beans in any dessert.  I think it really adds to the appeal.  If you prefer to use vanilla extract, the cookie will still be just as fabulous!!

The moral of the story is....don't waste your left over caramel!  Also, don't eat all of your homemade caramel because you are going to want to make these cookies!!!  If you do eat all of your homemade caramel, buy a can of dulce de leche at the market and make these cookies anyways!!!  ;-)

This recipe is featured on the following:

Caramel Sandwich Cookies
Yield- 10-15 sandwich cookies, depending on size of cutter

3/4 stick (6 tablespoons) unsalted butter, softened
1/3 cup cornstarch
3/4 to 1 cup all-purpose flour
1/4 teaspoon baking powder
1/8 teaspoon salt
1/4 cup granulated sugar
2 large egg yolks
1 tablespoon Malibu rum or brandy
1/4 teaspoon vanilla paste (can substitute extract)
About 1/4 cup homemade caramel (thick) or dulce de leche*
Confectioners sugar for dusting

Put oven rack in middle position and preheat oven to 350°F. Butter a large baking sheet.

Whisk together cornstarch, 3/4 cup flour, baking powder, and salt in a small bowl.

Beat together butter and sugar in a large bowl with an electric mixer until light and fluffy, then beat in egg yolks, rum, and vanilla paste. Stir in flour mixture until combined, adding 1 to 2 tablespoons flour if dough is sticky. (Dough should be soft.)

Form dough into a disk and roll out into an 11-inch round (1/8 inch thick) on a lightly floured surface with a lightly floured rolling pin. Cut out 20 rounds with 2" cutter (reroll scraps if necessary) and transfer to sheet, arranging rounds 1/2 inch apart.

Bake until firm and pale golden around edges, 12 to 15 minutes. Transfer to a rack and cool 10 minutes.

Sandwich cookies with about 1 teaspoon caramel sauce. Dust with confectioners sugar.

Adapted from epicurious.com


Monday, August 27, 2012

Vanilla Bean Cupcake with Caramel Filling and Caramel Swiss Meringue Buttercream


I KNOW....this post is long overdue!  My birthday was actually one month ago today and I have been promising to post this recipe ever since.  This Vanilla Bean Cupcake with Caramel Filling and Caramel Swiss Meringue Buttercream (Yes, I know....long name) is my newest, most favorite of all time, CUPCAKE! It was also the signature dessert for my Birthday!  I am not much of a cake eater and (believe it or not) I am not much of a chocolate dessert eater.  I LOVE chocolate but caramel is really where it's at for me!  

I have long been on the search for the perfect vanilla cupcake recipe.  I have tried countless recipes that end up way too dense and dry or too moist and crumbly.  Recently I came across a blog called Cupcake Project written by a brilliant woman named Stef, who basically does all of the hard work for you.  She tries all sorts of recipes and has others do the same and rate them.  After a lot of work she came up with the ultimate vanilla cupcake recipe which I used as the base for my cupcake.  It is light and fluffy but strong enough to hold up to any filling or frosting.  It is flavorful but not too sweet.  Best of all, it uses actual vanilla bean and has those beautiful flecks of beans that make this cupcake stand out and look so beautiful! You can actually see them in the photo below!  :)


The filling......(sigh)....the filling was....let's say the filling was challenging.  I LOVE caramel.  No, I mean I REALLY LOVE caramel.  Like "eat it out of the jar when no one is looking" kind of love for caramel.  The problem with caramel is that it is hard for me to make.  Yes, I have made it before with no problems but I think that may have been beginners luck because I have also burned the caramel on many occasions.  There is that small window of time between under-cooked and burnt.  So I started with one caramel recipe and I was so overly cautious that I under cooked it.  The color was too light and the flavor was bland and it was too runny.  Second time around, the sugar crystallized around the sides of the pan and left little bits of crystallized sugar in my caramel.  I went back to the drawing board and came across a recipe for thick caramel sauce and filling on Cakecentral.com.  The recipe looked different than any I had seen before.  First of all, it used brown sugar.  Second of all, there was sweetened condensed milk in it.  SUPER easy!  I didn't even use the candy thermometer and it turned out perfect.  So perfect that I got a stomach ache from eating too much of it.  This stuff is perfect for drizzling, filling, spreading or even eating it over ice cream.  Heck, I caught my sister practically licking the leftovers out of the measuring cup I was using!


 The picture does not do it justice!  You will just have to make it and see for yourself....best caramel recipe EVER!

To frost the cake I used my favorite Swiss Meringue Buttercream that you have seen me use in many of my recipes.  We have Martha to thank for that one....there is no better frosting!  I added 1/3 cup of my homemade caramel sauce to the frosting (same as I did for the Toffee Crunch Cupcakes).  After piping on that delicious frosting, I made it "over the top" fabulous by drizzling a little more of my caramel over the frosting!


I realize that there are a lot of steps and that it looks like a lot of work, but it's worth it!  These cupcakes were gone in minutes, so fast that I didn't even get one on my Birthday.  I had to make them again the next day so that I could try one!  


Make these.  Make them soon.  But when you do, make sure you eat one before you show them to your family and friends.  If not, you may not get one before they gobble them all up!  :)

This recipe featured on:

Vanilla Bean Cupcake with Caramel Filling and Caramel Swiss Meringue Buttercream

The Cupcake:  (recipe from cupcakeproject.com
Yield: 16 cupcakes (I doubled it to get 32)

1 cup (225 grams) granulated sugar
1 vanilla bean
1 3/4 cups (175 grams) cake flour, not self-rising
1 1/2 teaspoons baking powder
1/2 teaspoon baking soda
1/2 teaspoon salt
1/4 cup (57 grams) unsalted butter, room temperature
2 large eggs, room temperature
1/3 cup (75 grams) full-fat sour cream
1/4 cup canola oil or vegetable oil (60 ml)
1 tablespoon pure (not imitation) vanilla extract
2/3 cup (160 ml) whole milk

Preheat oven to 350 F (175 C).
In a small bowl, combine sugar and seeds from the vanilla bean.  Using the back of a spoon, move around the bowl and apply pressure to break up any clumps of seeds and to better infuse the vanilla flavor into the sugar. Set aside.

In a medium-sized mixing bowl or bowl of a stand mixer, mix together cake flour, baking powder, baking soda, and salt.  Add the vanilla bean sugar and mix until well combined.  Add butter and mix on medium-low speed for three minutes.  Because there is so little butter, you'll end up with a very fine crumb texture.

In a small mixing bowl, whisk together eggs, sour cream, oil, and vanilla extract until smooth.
Add the egg mixture to the flour mixture and beat on medium speed until just combined.
Slowly add milk and mix on low speed until just combined.  The batter will be liquid.  (Don't worry, you didn't do anything wrong.  It's supposed to be that way.)

Fill cupcake liners 2/3 full, bake for 14 minutes and then test to see if they are done. They are done when a toothpick comes out without wet batter stuck to it.  The cupcakes should appear white with specks of vanilla bean. They should not turn a golden brown.  If they are not done, test again in two minutes.  If they are still not done, test again in another two minutes.

When the cupcakes are done, remove them immediately from the pans and cool on a rack.

The Caramel: (recipe from cakecentral.com)
Yield: about 4 cups

1 cup butter 
2 cups packed brown sugar
1 cup light corn syrup
1 can sweetened condensed milk
2 tablespoons whipping cream
2 teaspoons vanilla
1 teaspoon salt

In a heavy saucepan, bring butter, brown sugar, corn syrup and sweetened condensed milk to a boil over medium heat, stirring. Carefully stir in whipping cream. Attach a candy thermometer to your pan. Continue to stir until the caramel reaches 238 degrees, or the soft ball stage. Remove from heat and add vanilla and salt.

The Frosting: (recipe from marthastewart.com)

5 large egg whites
11/2 cup sugar
4 sticks unsalted butter, diced and softened
1/4 teaspoon salt
1 tablespoon vanilla
1/3 cup caramel sauce 

Combine egg whites and sugar in a bowl placed over simmering water. Bring mixture to 150 degrees F while whisking constantly.

Transfer mixture to stand mixer bowl, fitted with a whisk attachment and beat on medium speed until mixture cools and doubles in volume.

Add butter in one piece at a time, mixing to incorporate after each addition. The mixture may appear clumpy and almost curdled looking-this is normal. Keep mixing and it will become even and smooth again. Add salt and vanilla and mix to combine. Add caramel sauce and mix to combine.

Assemble the Cupcakes:

Use a paring knife to cut a cone-shaped piece (about 1/2 inch deep) from the center of each cupcake and throw away the pieces. Spoon caramel filling into the cupcake.  Frost with buttercream and drizzle with more of the caramel sauce!!

Enjoy!


Friday, August 24, 2012

Fruit Tart


It's time for Vegas baby....I'm feeling lucky!!!  I am forever entering contests, buying raffle tickets, throwing my business card into the basket to win a free lunch.  Never, and I do mean NEVER do I ever win.  But this month is MY month!  I entered to win a Moleskin Travel Journal on Christine's blog "Esskunst-Love who you are".  I was actually travelling when I got the news from her that I had won....such a coincidence!!!  You should really head on over and check her out....so many great recipes!


Then, this morning I wake up to an email from Lauren at "Part Time House Wife" telling me that I won her contest and a weeks supply of Brown Cow Cream Top Greek Yogurt!!!  I LOVE greek yogurt, especially with fresh berries and honey drizzled over the top!  Super excited!!!  You have got to check out Lauren's recipe for BLT Pizza.....it is to die for!!!

So now you see it...I'm on a roll, it's my lucky streak....I need to start buying lotto cards or playing the slots! I might actually win!!!  Well, since we all know I'm not about to waste my money on lotto tickets and with school starting I have NO time for Vegas, I will have to stick with my lucky recipes!  I totally lucked out this week with my newest....A fresh fruit tart!


The recipe comes from Baking Illustrated, which I don't own and had to borrow, and is one of the BEST baking bibles out there.  I'm serious, if you are reading this and want to do a giveaway on your blog, this book would make a great giveaway and I would be the first person in line to enter the contest!  I know, I know...I could just buy the cookbook but I'm super cheap frugal like that!


The recipe is FABULOUS!!  Honestly.... I made the pastry cream, tasted it and spent the next 20 minutes with my face in the pan, making sure I licked the entire thing clean!  I was starting to eat it with a large serving spoon before I came out of my food trance and remembered that I was making this for a client and should probably make sure I have enough pastry cream left to fill the pastry! Ummm....that was embarrassing, I probably shouldn't have told you that.  Please don't judge me!


The pastry was EASY!  If you don't have a food processor you can still make it, but the food processor makes it so quick and that gives you more time to go back to tasting your pastry cream.  I mean really, I'm sure the client would be ok having a fruit tart with just fruit.  Do they really NEED the pastry cream?  Na, I should just take it off their hands!  ;)


Use any fruit you like!  Berries are beautiful right now, so that is what I chose with the addition of kiwi for it's beautiful color.  You could use stone fruit, tropical fruit, etc.


Now, here is the important part....IF you have any pastry cream left after tasting it to make sure it tastes ok and won't poison your family, then you should spread the cream into the bottom of your tart shell.  If you don't have any left, then make another batch, you really need it for the tart!


Pile all of that gorgeous fruit on top of the pastry cream and VOILA!!!!  Perfection!  You could melt some beautiful jam to brush on top of your tart to make it glossy and gorgeous but I think mine is gorgeous without that extra step.  And seriously, it won't last long enough for anyone to notice that it is glossy!  

The crust is perfection, reminding me of a shortbread cookie.  We already know how I feel about the pastry cream, and the berries, which really are the star of the dish, are sweet and juicy and beautiful!  Really, this is my idea of the perfect dessert.  The only thing that would make it better would be a bottle of red and friends to share it all with!  

Did I tell you that I liked the pastry cream?  ;)

This recipe is featured on:

Fruit Tart

For the Crust:
1 egg yolk
1 tablespoon heavy cream
½ teaspoon vanilla extract
1¼ cups all-purpose flour
2/3 cup powdered sugar
¼ teaspoon salt
8 tablespoons cold unsalted butter, cut into ½-inch cubes

Whisk together the yolk, cream and vanilla in a small bow; set aside. Place the flour, sugar and salt in a food processor and process briefly to combine. Scatter the butter pieces over the flour mixture; process to cut the butter until the mixture resembles coarse meal, about fifteen 1-second pulses. With the machine running, add the egg mixture and process until the dough just comes together, about 12 seconds. Turn the dough onto a sheet of plastic wrap and press into a 6-inch disk. Wrap in plastic and refrigerate at least 1 hour or up to 48 hours.

Remove the dough from the refrigerator (if refrigerated longer than 1 hour, let stand at room temperature until workable). Unwrap and roll on a lightly floured surface to a 13-inch round. Transfer the dough to a 9- to 9½-inch tart pan. Ease the dough into the pan corners and press the dough against the fluted sides of the pan. If some sections of the edge are too thin, reinforce them by folding the excess dough back on itself. Run the rolling pin over the top of the tart pan to remove the excess dough. Prick the bottom and sides of the dough all over with a fork. Set the dough-lined tart pan on a large plate and freeze for 30 minutes.

Preheat oven to 375 degrees F. Set the dough-lined tart pan on a baking sheet, press a square of foil into the frozen tart shell and over the edge, and fill with metal or ceramic pie weights. Bake for 30 minutes, rotating halfway through the baking time. Remove from the oven and carefully remove the foil and weights. Continue to bake until deep golden brown, 5 to 8 minutes longer. Set the baking sheet with the tart shell on a wire rack and cool to room temperature.

For the pastry cream:
2 cups half-and-half
½ cup granulated sugar, divided
Pinch of salt
5 egg yolks
3 tablespoons cornstarch
4 tablespoons cold unsalted butter, cut into 4 pieces
1½ teaspoons vanilla extract

Heat the half-and-half, 6 tablespoons of the sugar, and the salt in a medium heavy-bottomed saucepan over medium heat until simmering, stirring occasionally to dissolve the sugar.

Meanwhile, whisk the egg yolks in a medium bowl until thoroughly combined. Whisk in the remaining 2 tablespoons sugar and whisk until the sugar has begun to dissolve and the mixture is creamy, about 15 seconds. Whisk in the cornstarch until combined and the mixture is pale yellow and thick, about 30 seconds.

When the half-and-half mixture reaches a full simmer, gradually whisk the simmering half-and-half into the yolk mixture to temper. Return the mixture to the saucepan, scraping the bowl with a rubber spatula; return to a simmer over medium heat, whisking constantly, until a few bubbles burst on the surface and the mixture is thickened and glossy, about 30 seconds. Off the heat, whisk in the butter and vanilla. Strain the pastry cream through a fine-mesh sieve set over a medium bowl. Press plastic wrap directly on the surface to prevent a skin from forming and refrigerate until cold and set, at least 3 hours or up to 2 days.

Assemble the tart:
3 cups assorted berries, kiwi or stonefruit

Remove the outer ring of the tart pan and place tart shell on serving plate.  Spread the pastry cream evenly inside of the tart shell and arrange the assorted fruit over the top of the pastry cream.  

Refrigerate tart until time to serve.


Recipe adapted from Baking Illustrated

Sunday, August 19, 2012

Blackberry Peach Crumble

The boys and I just got back from a trip to see my Sister and her family in Washington.  Soooo much fun and sooooo relaxing!  We were off the grid for most of the vacation and loving it!  It was great to not worry about school, work, facebook, video games, etc.  The boys absolutely LOVE spending time with their Aunt and Uncle and especially their cousins (these kids are INSEPARABLE).  We are so lucky to have such a fun-loving, prank-pulling, sarcastic and wonderful family!  There is never a problem entertaining each other and we spent most of our days doing puzzles, reading, going to the lake, riding ATVs and roasting s'mores over the campfire!  Totally relaxing, although, you do need to be on your guard because you never know when my brother-in-law Pat might have you believing some crazy (and false) story, or asking if your food smells weird (don't ever fall for this, btw), or hiding one of his socks in your suitcase (YES, I know you did it)!


My favorite memories of all of our visits involve me and my Sissy doing puzzles until all hours of the morning, drinking wine, eating chocolate that we have hidden from the kids, and talk, talk, talking!  Ok, my second favorite part of all these visits is the Cheesy Potatoes, she makes the best Cheesy Potatoes!  :)

I also really LOVE all of the blackberries that grow on their property, bushes as far as the eye can see and taller than all of us!  The kids have no problem running out there to pick bowls full of beautiful, plump, delicious blackberries....and I have no problem baking them up into something yummy!!  I should say, I have no problem taking what is leftover from their escapades and turning them into something yummy.  Sometimes they can't resist painting their faces in blackberry juice or having a blackberry fight!  


It was a vacation and time to relax, so I decided to go for simple and make a crumble with the blackberries and some fresh peaches from the store (Fred Meyer....my FAVORITE).


 Score the bottom of those peaches with a little X before dropping them into boiling water to loosen the skin.
 The peaches just take 30 seconds or so in the boiling water.
 The skins should slip right off!
 Cut into 1/2 inch thick slices.
Add those yummy blackberries and get the topping ready.
 Sprinkle the crumble on and it's ready for the oven!
 Remember....crumbles always taste best with a good puzzle!

Super easy and perfectly yummy summertime dessert!

Enjoy!!

This post is part of the "Gallery of Favorites" over at The 21st Century Housewife!

Blackberry Peach Crumble

Filling:
5-6 peaches
2 cups blackberries
1/2 cup granulated sugar
1/4 cup all-purpose flour

Crumble Topping:
3/4 cup all-purpose flour
3/4 cup old fashioned oats
1/2 cup brown sugar, packed
1/4 cup granulated sugar
1/8 teaspoon salt
1/4 teaspoon cinnamon
8 tablespoons unsalted butter (1 stick), cut into small pieces

Preheat the Oven to 350 degrees F.  Butter an 8 inch square baking dish or 9 inch pie dish, set aside.

Lower peaches into boiling water for 30 seconds and remove.  Peel the peaches (skins should slip off easily) and slice into 1/2 inch thick slices.  Toss with the granulated sugar and flour,  then gently fold in the blackberries. Spoon the mixture into prepared dish.

In another bowl, mix the flour, oats, sugars, salt and cinnamon until thoroughly mixed.  Cut butter into flour mixture until crumbly.  Sprinkle mixture over fruit.

Bake for 45 minutes, until crumble topping is golden brown and fruit is tender and bubbly.


Sunday, August 5, 2012

Lynchburg Lemonade Jello Shots


Alright, alright, alright....I know I am a baker and this is primarily a baking blog, but occasionally a girl has to have a little fun!

Remember last month when I posted my Caribbean Turkey Jerk Sliders?  That same, wonderful, group of friends had another themed potluck dinner.  This time the theme was "So not paired".  We had to bring those crazy recipes that sound like they would never work but are fabulous and drinks that sound strange but are delish.  People did not disappoint!  There were some crazy recipes....Tuna Cornbread Pizza, Spaghetti Tacos, Brussels Sprout Pizza and I brought my Jimmy Carter Cheese Spread.  All sound a little strange and yet, everything was delicious.  

Coming up with a strange drink was difficult.  I knew someone would bring Chocolate wine, so that was out.  I wanted it to be something different and who would think to pair lemon jello and Jack Daniels?  Most people wouldn't, but I'm not most people.  So I made up some Lynchburg Lemonade Jello Shots!  I'm making a bit of a reputation for myself, last month I brought Pina Colada Jello shots.  All I can say is this....Jello is NOT just for kids!


I am not a Jack Daniels fan (HELLO...I'm all about the red wine), except for Lynchburg Lemonade.  I LOVE Lynchburg Lemonade!  To me, you can't even taste the alcohol in these.  To everyone else at the potluck....you could.  What does this say about me?  


Oh well!  These are very yummy and tons of fun....just make sure to keep the jello away from the kids!

Hope you enjoy!

This recipe featured on:
This recipe is featured on http://www.foodiefriendsfriday.com  Linky Party

Foodie Friends Friday


Foodie Friends Friday


Lynchburg Lemonade Jello Shots

6 oz  Lemon JELLO
2 cups boiling water
1 cup Jack Daniels
1/2 cup sweet and sour mix
1/2 cup lemon lime soda

Mix jello with 2 cups boiling water, stirring until completely disolved.  Let sit until cool, then add remaining ingredients.  Poor into small paper or plastic condiment cups and refrigerate for at least 4 hours.


Friday, August 3, 2012

Angry Bird Cupcakes!


HAPPY FRIDAY!  I am looking forward to a weekend of fun, farmer's market with Mom, potluck dinner party with friends and plenty of time in the sun!!  I have been busy with cupcakes this last week.  Seems like my house has become a cupcake bakery.  All different colors and flavors and fillings....still working on my recipes for the posts but those are coming soon!  For now you get to see all of my adorable "Angry Birds" cupcakes!

No recipes to go with these cupcakes.  I used devils food and white cake mixes for the cupcakes.  Shhhhh....I rarely do it and it was fine because the frosting is homemade and the topper is the real center piece of these treats!!

For the frosting I used my favorite....Swiss Meringue Buttercream from Martha Stewart.  I use this frosting and variations of it all the time!

As for the toppers....FONDANT!!!  This is only my second real project with fondant and I am really getting the hang of it!  It is super fun to color and roll and cut into shapes.  I use only regular kitchen tools, no fancy fondant tools and I think they turned out pretty great.  What do you think?  I have had some great feedback on my facebook fan page...people think they are pretty awesome!  (I do too!)


I had never seen "Angry Birds" before.  I googled some pictures of the characters and looked at what other people did to make cupcakes and then I started cutting and designing, freestyle.  They are cute and fun and perfect for any kid party!!! (Even if my son thinks the yellow one should have been a triangle)


Hope you all have a great weekend!  Eat lots of good food, drink fabulous red wine, bake some yummy treats, maybe even try your hand at fondant!

Enjoy!

This recipe is featured on:
My Turn (for us) Linky Party